
There’s a time and a place for chewy, crusty homemade bread. Bread that requires 12 minutes of constant kneading to make. Bread that’s full of glorious, stretchy gluten. That place is not the Thanksgiving dinner table. Crusty bread makes a killer day-after turkey sandwich, but it sure makes a lousy dinner roll.
Dinner rolls are meant to be soft and squishy—the sort of bread you can load with butter, mop up gravy, and cram into your mouth. That’s where no-knead bread fits in. It’s easy on your arms and easy on the gluten, making it perfect for dinner rolls.
The average bread recipe can be turned into buns, but the trap is that those recipes use high-gluten flours to build up the strength necessary for a chewy, bouncy texture and good rise. For the perfect soft dinner roll, the gluten should be just enough to hold the structure, and there should be shortening agents–like eggs and butter–involved to keep it soft and hydrated.
No-knead breads aren’t kneaded (surprise!), and this recipe uses all-purpose flour, eggs, and butter. All of these factors ensure the gluten content is lower than a lean, crusty bread, and that the gluten development is kept to a minimum.
Beyond that, I also included instant mashed potato flakes. This extra starch (alongside the eggs and butter) contribute to a soft roll that stays that way, even after two days of sitting at room temperature. I shaped these in the Parker House Roll style, but you can turn them into a classic round shape if you want. (If you need help shaping dough balls, check out my video.)
How to make no-knead dinner rolls
1. Make the dough
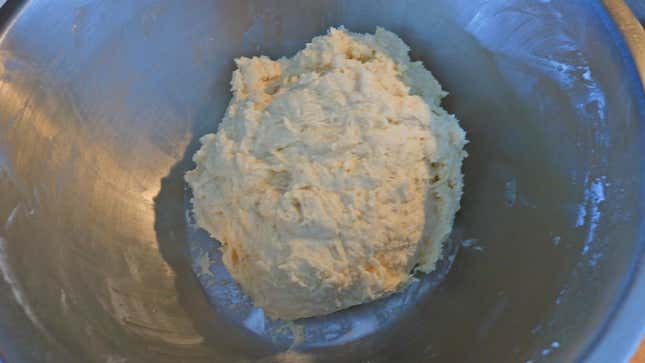
Pour the room temperature milk into a medium to large bowl, and sprinkle the yeast over the top and let it bloom for a minute while you ready the other ingredients. Whisk in the yeast so the milk is chunky and cloudy looking. Whisk in the sugar, potato flakes, and the egg. Add the flour and the salt. Mix these ingredients together with a spoon until they partially combine. It will become hard to use a spoon and the dough will still look uncombined. This is when you add the butter.
The butter should be soft, like mayonnaise. If it’s too stiff, cut it into tablespoon sized pieces and microwave it in a separate bowl for a few seconds. Mix and mash it up until it’s the right consistency. Microwave it again if needed. Scrape the dough off the spoon and add the butter. I recommend putting on a rubber glove and combining the dough by hand instead of going after it with a spoon—at this stage, it’s kind of like meatball mix, and it’s just easier to do with your hand. You don’t need a glove, just wash your hands afterward. (If you’re thinking, “This is kneading!” It’s not, it’s combining. Kneading is much more extensive and violent.)
2. Proof the dough
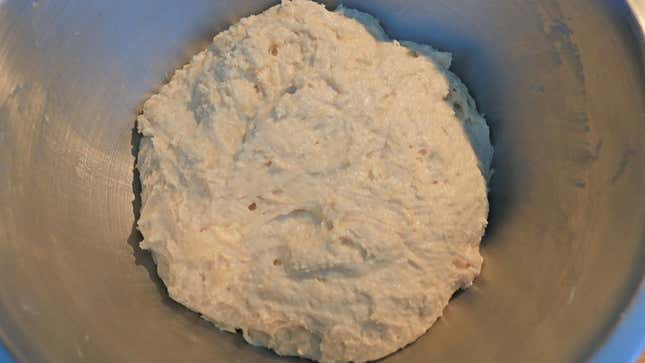
Once the butter has been incorporated, scrape the dough down into a mound. Cover the bowl and let it rest for an hour to 90 minutes. (My apartment is chilly these days, so it took the full 90 minutes.) It won’t double in size, but it will be noticeably bigger and puffier. You must be patient with yeast—it increases rapidly in its last 30 minutes, so if yours needs more time, give it more time. It’ll get there.
3. Shape those buns
Butter a baking dish. You can use a cake pan, a pie dish, or a rectangular Pyrex. Your choice will change the shape, but all will work. Keep in mind that if you choose a smaller dish, you might need two of them. I used a 13 by nine-inch Pyrex dish, so my Parker House rolls had a lot of space. If I wanted a towering, skinny roll, I would have opted for a smaller dish.
Dump the dough out onto a floured surface. The dough will be sticky. Fold it over, in half, onto itself. Rotate the dough 90 degrees and do it again. Repeat this two more times, keeping the same side down, and dusting off excess flour. You’re tightening the outside and making a smooth side.
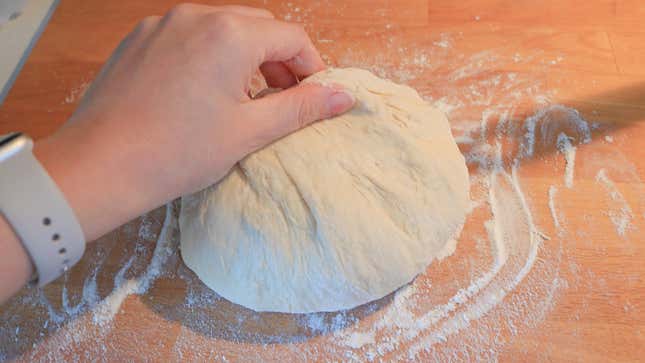
Now gather the four “corners,” or edges up and into the center like a purse. Pinch and twist to seal it really well. Stretch the dough into a rectangle about nine-inches by twelve inches. Brush melted butter over the entire thing.
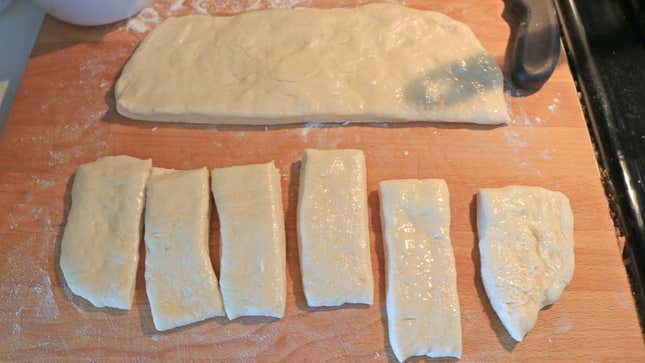
Cut it into 12 somewhat equal rectangles. Fold these rectangles in half to make squares, or short rectangles. This forms a little butter pocket you can easily split and stuff with turkey during dinner. Arrange the rolls in the buttered dish.
4. Proof them again
Cover the dish and allow it to rise for another hour. Using a glass dish is helpful, because after the proof time has elapsed, you can look underneath and see the bubbles the yeast produced in the dough.
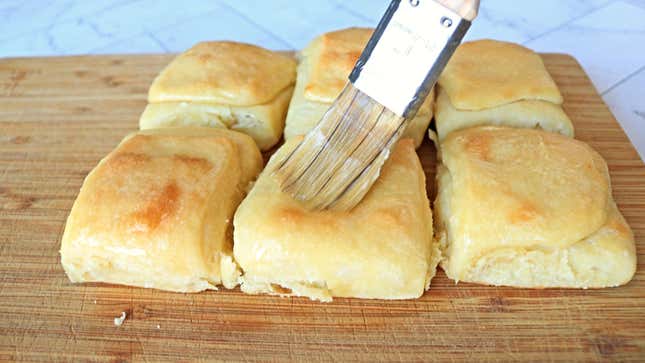
Meanwhile, preheat the oven to 350°F. You can either brush the rolls with more butter on top, or use an egg wash for a shiny, deeply browned finish. This time I opted for butter, but afterward, as always, I wished I had used the egg wash. Butter adds flavor, but it doesn’t brown as readily, so the buns will look blonde even when they’re finished cooking. Egg wash adds that little bit of sexy that dinner rolls need.
5. Bake your dinner rolls
Bake the buns for 20 to 25 minutes, or until risen and the center ones bounce back when you poke them. Brush them with, oh yes, more butter, and sprinkle them with fat, flaky salt before serving them warm.
These can sit out at room temperature for four days, covered. Just refresh them in the oven (350°F for five minutes) before serving. If you want to make them in advance, just take them out of the pan, bag, and freeze them. To reheat them, bake them in a pan at 350°F for 15 minutes before serving.
Soft, No-knead Dinner Rolls Recipe
Ingredients:
- 1 ¼ cup of milk, room temperature
- 1 tablespoon instant dry yeast (I use SAF yeast)
- 1 tablespoon sugar
- ¼ cup potato flakes
- 1 egg, room temperature
- 2 ½ cup all-purpose flour (+ extra for shaping)
- 1 teaspoon salt
- 5 tablespoons butter, soft like mayo
- Egg wash (optional)
- 3 tablespoons butter melted (for serving)
- Flaky salt (for serving)
1. Sprinkle the yeast over the milk in a medium to large bowl. Allow the yeast to bloom for a minute. Whisk in the sugar, potato flakes, and egg. Add the flour and salt. Mix the dough with a spoon, it will be thick. After the dough is about halfway combined, scrape off the spoon. Add the butter and mix the dough until completely combined. I used my hand to ensure the butter was completely mixed into the dough.
2. Scrape down the sides to mound the dough into the center. Cover the bowl and let it rise for an hour to 90 minutes, or until puffed and risen about 50%.
3. Butter a 13 by nine-inch pan, or slightly smaller if you want taller rolls. Scoop the dough out onto a floured surface. Fold the dough in half. Rotate the dough 90 degrees and fold it in half again. Repeat this two more times. Pull the outer edges of the dough up and gather them in the center like a purse. Twist and squeeze to seal it. Stretch the dough out into a rectangle about nine-inches by twelve inches. Brush the surface of the rectangle with melted butter, and cut the dough into 12 equal rectangles. Fold each small rectangle in half and arrange the rolls in the buttered dish. Cover the dish.
4. Let the buns rise for an hour. Preheat the oven to 350°F. Egg wash the tops of the buns, or brush them with melted butter. Bake for 20 to 25 minutes, or until they bounce back when you poke the center ones. Brush the rolls with butter and sprinkle on some flaky salt. Serve while still warm.
Comentarios recientes