As gamers we all want a cool-looking gaming space we can call our own, but what does that look like? A nice gaming chair? An adjustable gaming desk like one from Flexispot? Copious amounts of LEDs and lighting solutions like the ones from Nanoleaf? But how do we stand out from the crowd – especially if you want to become a streamer or just want your friends to see you have something they can’t?
3D print things yourself that’s how. There are an absolute ton of 3D printable models out there, some free, some paid for and if you have a 3D printer, or are thinking of getting one, you can set to work creating your own bespoke gaming artwork for your room.
Which 3D printer?
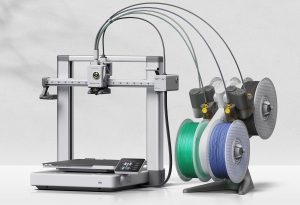
For this project, we are going to use the new Bambu Lab A1 which recently came out at the end of last year. With its multi-material AMS Lite add it can print in multiple colors on the same print easily, which, while you can do on other printers, the AMS makes it so much easier.
Having said that, in the main, we are going to print our models in a single color and attempt to paint them to a standard that looks half-decent. Because of this, we can print them in any old filament we have lying around that we maybe don’t use that much.
Another reason we are using the A1 here is because, right now, we don’t want to tinker and play around with settings. For the most part, the A1 just works out of the box. Many other 3D printers need fine-tuning and tweaking to get the best out of them, even keeping a watchful eye to make sure nothing goes wrong. Unless you are unlucky the A1 should let you print and return later when it’s done (although it is good practice to regularly check on what’s happening, just in case.)
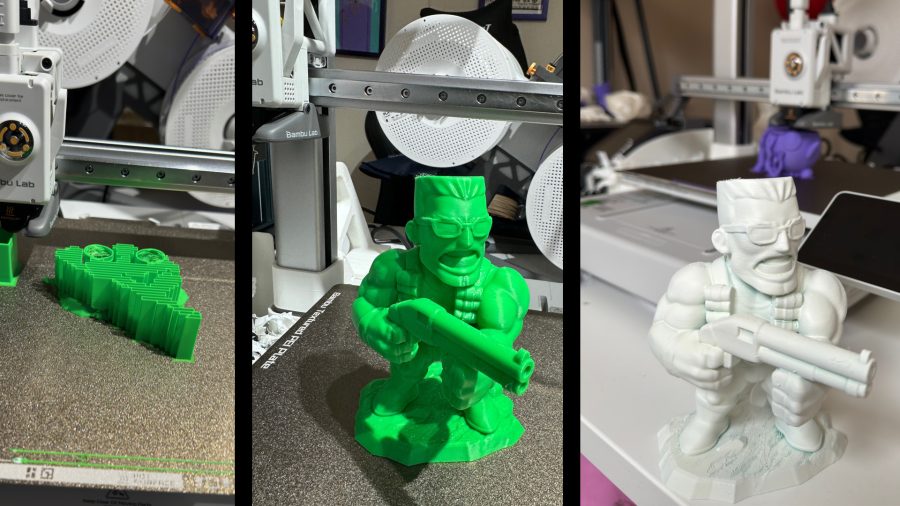
Our model here is this excellent chibi version of classic gaming hero Duke Nukem from 3DXM. Because we are going to paint him, we are just going to use some green filament we don’t mind using up.
Popping the model into Bambu Studio – the slicer software that comes with all Bambu Labs printers, sizing it to the size you want for your desk or shelf, adding supports, and slicing it ready to print should take only a minute or so.
From there you can send it over wi-fi to the A1, choose the color you want to print in if you have the AMS Lite, hit print, and sit back. This Duke Nukem took around five hours to print at 100% but had we pushed the printer into Sport or even Ludicrous mode it would have been much faster.
If you are new to 3D printing you should know that any part of the model that hangs suspended in mid-air will need supports while it prints. Your A1’s nozzle can’t just make things appear in mid-air. This means that this support material is a) a waste of filament and b) needs to be removed when the print is complete. It should be a case of just pulling it off, but it can be sharp and you can cut yourself so maybe pop on a pair of gardening gloves or even washing up gloves for a little protection. Having said that you haven’t lived until you have got your blood all over that nice model printed in white filament that you just spent nine hours printing.

As you can see from the picture the supports pulled away nicely, leaving a great-looking model., even if at this stage he looks a bit like the Hulk because of the color.
At this stage, you can choose to lightly sand him down to smooth out the lines between the layers and remove any anomalies from the printing process. For this feature, we didn’t bother but you can spend as long on this section as you like until you are happy.
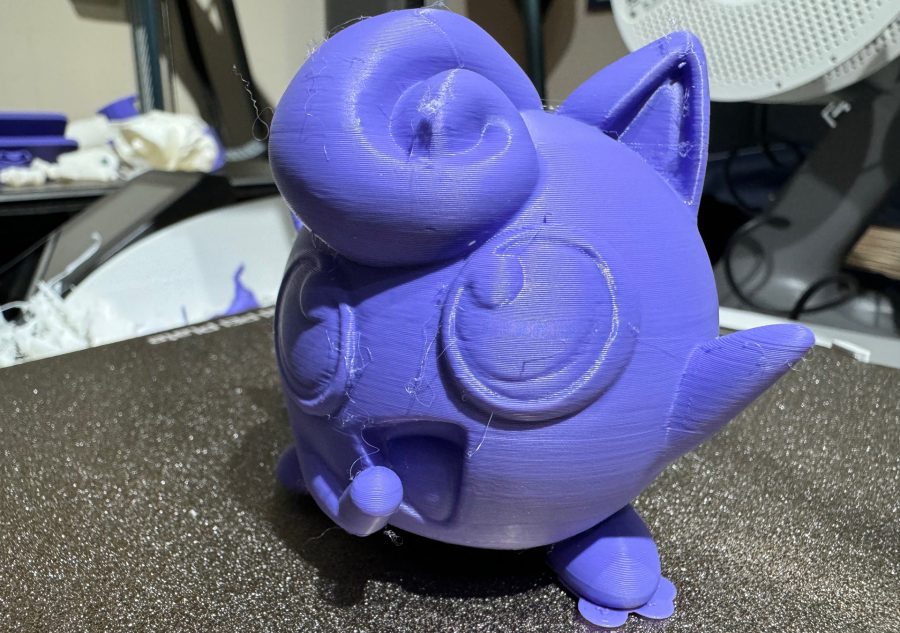
With the print of the model complete and the A1 having performed admirably we set it going on our next model for our room, a free Jigglypuff Pokemon from Makerworld. While this is printing in just over two and a half hours we can hit our Duke Nukem with a couple of coats of white primer to ready it for painting. We used Army Painter Matt White but any light primer will do. We specifically use white because we are going to paint him with Army Painter Speedpaints 2.0 which works best on a white primer.
Because of the green filament used, we ended up needing three light coats of primer to cover out the green completely
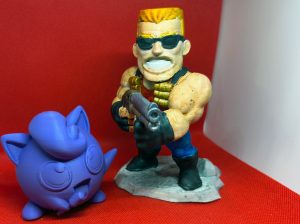
After letting Duke dry we took him over to the workbench and used a base coating brush for the most part to apply speedpaints for a (very, apologies) down-and-dirty paint job so you can see what is possible in around half an hour. Obviously, you can spend much more time on your painting if you like.
By now you can see the Pokemon Jigglypuff was complete and the Bambu Lab A1 did a fantastic job and came up with a really smooth ball shape. There was a small amount of stringing for no obvious reason but you can remove that by hitting it with a lighter for a second or two to burn it away. Now, you can just paint it and have a print of something else going while you do.
By the end of a day of printing, you could have a shelf full of really great models from about half a roll of filament (which will cost about $22.

Is the Bambu Lab A1 the best 3D printer for beginners?
On this project, we just wanted great-looking models as part of our Games Room redesign. We didn’t just want to go out and buy the same Funko Pops everybody has so we needed a frustration-free method of getting our game characters out. Because the A1 rarely seems to have issues – at least in our experience – you can set a model going and head off out if you need to.
If you have more experience with a more hobbyist rather than beginner printer you might be able to do the same, but if you are new to the 3D printing maker space then the ability to just get out of the printer what you expected is a boon.
The A1 is not a large format printer and the size of models and busts you can print might be a hindrance. We will be looking at the impressive Elegoo Neptune 4 Max soon, which is a helmet-class printer that needs a little more attention to get great results, but if you want to print a lifesize version of the guy from Fortnite for the corner of your room, you will need to up the size of your printer.

Bambu Lab A1 settings for Bambu Studio
If you want higher quality prints you should change your layer height from 0.2 down to something like 0.12 or even 0.08. This will give you finer detail but will take significantly longer to print.
You could also invest in a 0.2mm nozzle to swap out the base 0.4mm that comes with the A1. They only cost about $15 from Bambu Labs, can be swapped in seconds unlike other printers, and it is always good to have in your printing arsenal.
Hopefully, you have been inspired to make some of your own game room decorations or even to pick up a 3D printer for the first time. We will be bringing you more features to help you level up your gaming space in the future.
The post How to 3D print amazing models for your games room on a Bambu Lab A1 appeared first on ReadWrite.


Comentarios recientes