Ice cream cake is something I usually outsource—mainly because I hate baking, but also because Carvel makes a fine product. I do, however, love customization, almost as much as I love a frozen Sara Lee pound cake (try it waffled). The Pioneer Woman combines both of those things in her layered ice cream cake recipe, but I was less interested in the ingredients list and more interested in the method.
How to turn a frozen pound cake into an ice cream cake
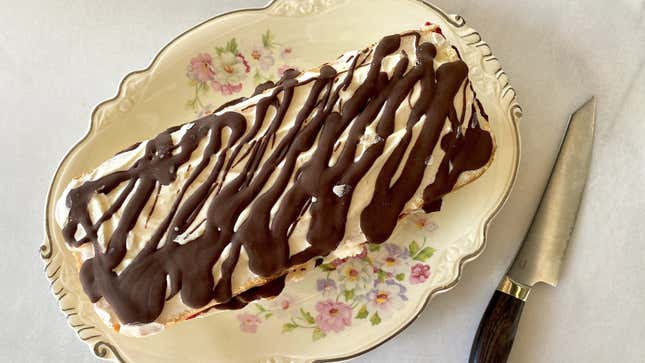
The method is simple but brilliant. Remove the frozen cake from its aluminum tin and slice it horizontally in three pieces.
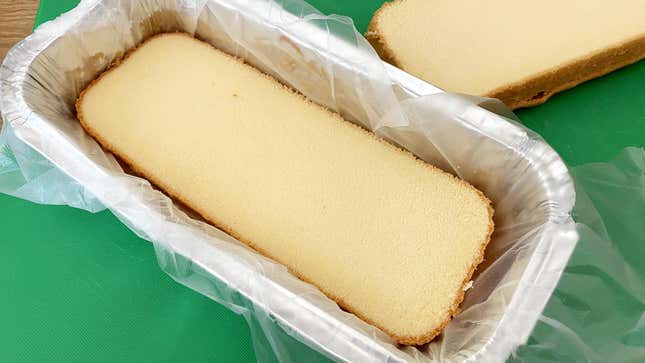
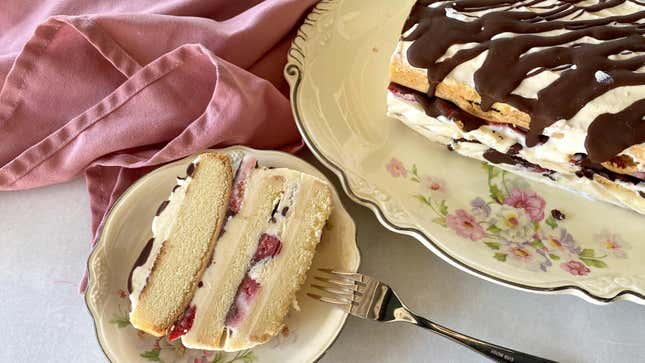
Line the tin with plastic wrap, then layer the cake back in the tin with alternating layers of cake, ice cream, and whatever inclusions you think would taste good with cake and ice cream.
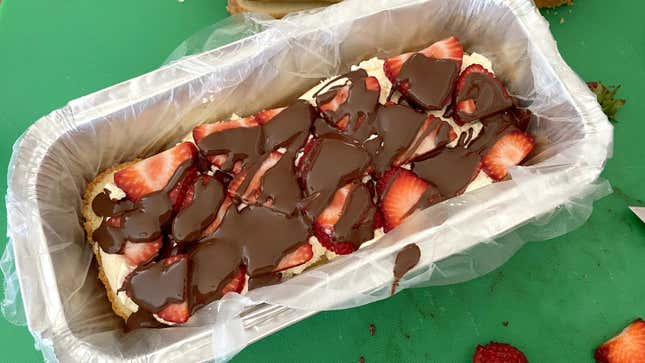
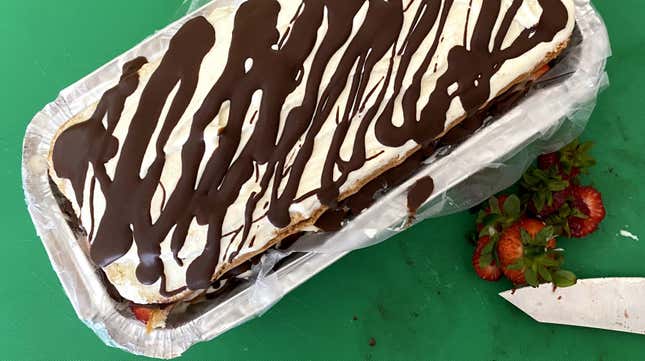
Once the cake has been layered back into the tin from whence it came, finish it with a final layer of ice cream and some magic shell (either store-bought of DIY). Set the cake in the freezer for a few minutes uncovered to let the shell harden, then cover with another piece of plastic wrap and place the whole thing in the freezer for at least four hours, until frozen solid.
A note on adding fruit
I had a bunch of fresh strawberries I needed to use up, so I layered those in with the ice cream. If you’ve ever added fresh fruit chunks or pieces to a batch of homemade ice cream, you know that they can get icy. I happen to enjoy the crunchy, tart, almost popsicle-like chunks of fruit in my ice cream cake, but I realize it’s not a texture that everyone likes. If you want to add fruit without it disrupting the creamy flow of the ice cream, cook it down into a thick compote, or skip the fresh fruit entirely and use a layer of jam.
How much ice cream do you need?
You’ll need a total of three cups of ice cream, one cup per layer. How many flavors you use is up to you. In terms of inclusions, you’ll need about a cup of chopped candy, or one small handful per layer, plus a little extra if you want to decorate the top with a candy garnish.
If you’re also a textural freak who loves the icy clash of frozen strawberries, you’ll need 8-10 of those; if you’re normal, 1/4 cup of jam or compote per layer should work just fine.
You’ll also need some magic shell—which you can make yourself, with or without duck fat—to create crisp layers of dark chocolate throughout and on top of your cake.
If your love of ice cream outweighs your love of cake, you can remove the middle layer of cake to create double ice cream layer, and crumble the extra cake on top as a garnish (or waffle it for breakfast).
Easy Layered Ice Cream Cake (adapted from the Food Network)
Ingredients:
- 1 frozen Sara Lee pound cake
- 3 cups slightly softened ice cream, any flavor
- 1 cup chopped candy, or other inclusions, plus extra for decorating the top
- Magic shell, any flavor
Remove the cake from its aluminum tin and set aside. Line the tin with plastic wrap, then slice the cake, horizontally, into three even layers. Place one layer of cake in the tin.
Spread 1 cup of ice cream on top of the cake layer, then add your candy or other inclusions, followed by a healthy drizzle of magic shell. (You can use even more than I did above, based on your preference for chocolate.)
Repeat to make the second layer. For the last layer, I inverted to top of the cake so the flat side would be facing up. Finish with a final layer of ice cream, magic shell, and candy. Pop it in the freezer for a few minutes to let the shell fully harden, then cover with another piece of plastic wrap and return to the freezer for at least four hours.
When ready to serve, lift the cake out of the tin by gently tugging on the plastic wrap. Slice and serve immediately. Any remaining cake can be re-covered with plastic and stored in the tin.

Comentarios recientes