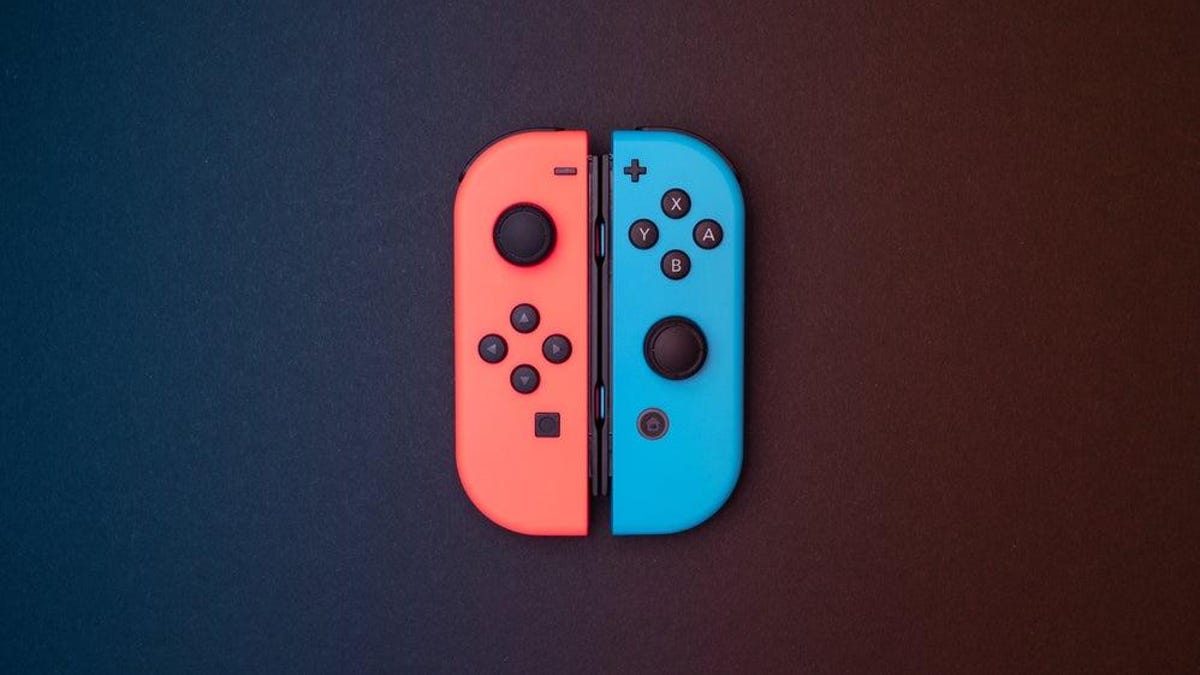
After years of annoying Joy-Con drift issues plaguing Nintendo Switch consoles, there may finally be a permanent fix.
Advertisement
What is Joy-Con drift?
For those who don’t know what “Joy-Con drift” is, consider yourself lucky—it’s a widespread issue that most Nintendo Switch owners encounter at some point. After enough use, the tension in the Joy-Con’s thumb stick mechanism loosens, and the thumb stick will jiggle slightly, causing unintended input detection—in other words, your curser, character, or menus will move around the screen even if you’re not touching the controller.
It’s a major issue that affects gameplay and the Nintendo Switch’s usability in general. Frankly, it’s gone beyond annoyance to a major flaw that hampers the otherwise excellent handheld-home console hybrid.
Nintendo and users alike have attempted to find a way to beat the drift. Fixes range from inconvenient (such as sending your Joy-Cons in for Nintendo to fix, or buying a replacement pair), to potentially damaging (like using rubbing alcohol to clean the thumb stick’s sensor, or opening the Joy-Con and replacing the thumb stick yourself). But while almost all of these solutions have worked (with varying degrees of success), none provide a permanent fix. At some point, the thumb stick tension will loosen and the Joy-Con drift will return.
G/O Media may get a commission
However, a YouTuber going by the name “VK’s Channel” claims to have found a permanent solution—and it’s surprisingly simple.
How to fix your drifting Joy-Con
As VK’s Channel (which we’ll refer to as “VK” for simplicity’s sake) demonstrates in the video below, applying pressure to the outside of the Joy-Con eliminates the thumb stick drift. So, to ensure there’s enough pressure at all times, VK popped open the Joy-Con and placed a thin strip of paper behind the thumb stick’s sensor. VK says this immediately fixed the drift, and that the issue has yet to return.
It’s impossible to confirm if sliding a piece of paper into your Joy-Con is, in fact, a long-term solution for everyone since it’s only been recently discovered, but according to the comments on VK’s and across social media, it seems to work so far.
Advertisement
Is it safe to fix a Joy-Con on your own?
In theory, filling the tiny gap between the Joy-Con’s case the back of the thumb stick’s sensor should be enough to keep the housing in place as long as the paper is the right size—the paper (or cardstock, cardboard, etc) only needs to be about 0.5mm tall. Anything larger won’t fit. The paper won’t affect anything in the controller if it’s placed properly, and there are no heating or conductive risks to worry about (just remember to turn your Joy-Con off first).
Advertisement
What you’ll need to fix Joy-Con drift on your own
I planned to test the fix on a pair of Joy-Cons I abandoned due to extreme drift issues, but I lack the proper tools to get the job done—which brings up some important caveats Switch owners should be aware of before attempting it themselves.
Advertisement
In order to pull off VK’s DIY drift fix, you need to remove four tiny tri-wing head screws on the back of the Joy-Cons. Most Switch owners probably don’t have a tri-wing screwdriver, and if they do, it may not be the right size (a 1.5 mm tri-wing will get the job done).
But even if you do have the right screwdriver, there are risks to opening your Joy-Cons. First is that it may void the warranty of the Joy-Cons (or even your console warranty if you’re using a Switch Lite), meaning if something breaks, you won’t be able to send them into Nintendo’s tech support. Luckily, the only bits you need to mess with are the four screws; you don’t have to touch any other components in the controller aside from placing a tiny piece of paper or cardstock behind the thumb stick housing.
Advertisement
Still, even though VK’s paper trick requires zero technical precision, DIY fixes are risky. You can accidentally introduce extra dust to the inner components, and small pieces could break or fall out and get lost. If you’re not comfortable risking your Joy-Cons’ warranty and usability, contact Nintendo and get the drift professionally serviced, or simply buy an extra pair instead. But if you’re ready to take matters into your own hands, give this at-home fix a shot.
Advertisement

Comentarios recientes